
Dress Form Extreme Makeover Using Découpage
Don’t you just hate it when you want to have that specific kind of decoration that you are visualizing but can’t find it? Or maybe you have a precious piece of decoration, but it doesn’t quite fit into your home because of its design? Well, you can easily forget about those kinds of problems with the help of Découpage, Transfers, Paints, Stencils, and more!
For starters, look at what I did in this Paper Mache Dress Form and grab all the ideas, or you can copy all that I did for your very own masterpiece! Just remember that its okay if it’s not perfect, trust me, nobody’s going to notice those imperfections.
Just enjoy the process!
The Products that I used are as follows:
- Dress Form
- Wood Glue
- Lace
Step 1 - Apply base paint on your project and let it dry. I used Peacock as my base color because it complements the color of the decoupage that I am going to use. This base color is also our guide to where we are going to place the decoupage later on.
Note - 1 coat is enough to the portion where you want to put a découpage on.

Step 2 – Prepare your Wood-U-Bend by painting over it and then pre heating it on a hot pan.

Step 3 – After the base paint is dry, apply a fair amount of topcoat on the portion with base paint on. I used Luster Protective Topcoat in this project.

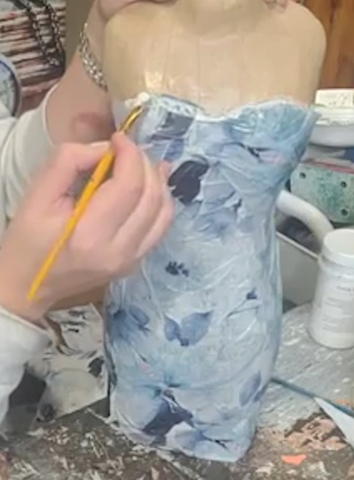
Step 4 – Wrap the découpage around your project and cut any excess paper.
Note – If there are portions on your découpage that’s not adhering, just add topcoat below those portions and continue scraping the bubbles and wrinkles out.

Step 5 – Apply Wood Glue on the portion where you want to put the Wood-U-Bend or the Lace on.
Step 6 – Place the Wood-U-Bend and Lace carefully.
Note – You can use a heat gun to soften the Wood-U-Bend in case it will harden while you are placing it over your project. The heat gun will also help strengthen the bond of the wood glue and the Wood-U-Bend.


This method can also be applied to any kind of project, so be sure to explore and don’t be afraid to use what you learned here to make your very own furniture art!
Watch the full video tutorial for this project here